
HOW TO
Create an Event
Selling tickets with snapuptickets.com is quick and easy.
Event details
Enter details about your event, location, time, title, description and graphics.

Enter ticket details
Name of ticket type, price, limits. Note, you can add different tickets if you have different entry fees for group types, different seating areas or offerings.

Select Payment
When you are setting up your event, under Payment Gateway click yes.

You will then be prompted to enter your credit card and billing information. This information will be used to automatically bill you once your event is completed.

Once your information has been verified you can then proceed to select your prefered payment gateway.
Chase Paymentech
If you choose Chase as your payment gateway you will need to input your credentials and simply click the checkbox to use this as your default payment gateway.

PayPal
If you already have a PayPal account set up this step will be very simple. All you need to do is simply add your email email address associated with your account. Click Use this Gateway for this event to set as your default merchant account. If you do not currently have a PayPal account, please click here and register for an account.

Add a Discount Code
Discount codes are common with many events. Special pricing for certain groups, invited guests etc… can be accommodated by creating a discount code for the event which the ticket buyer can enter when buying a ticket. The discount code can be calculated as a flat fee or percentage and is applied to the ticket purchase automatically.
To create a discount code, simply click the discount code tab at the top of your administrative page.

Enter a code for the ticket buyers to use with the amount in $ or %. Can also include what the event code is applicable for, dates the code is available and any limits that may be applicable
Once the code is created you can reference it to groups or other attendees for the applicable discount.
Add Contacts

From your administrative section, you can also add contacts to invite to events. Contacts can be added by clicking the contacts tab then clicking Add Contacts. You can manually enter email addresses, import an excel or text file or import from a Gmail or Yahoo mail account. These contacts can then be sent invitations to your event.
Email Blast
Notify your contacts by sending them an email about any changes to your event or simply as a reminder that the event is approaching. To access the email blast section click “Email Blast” along the top navigation.
From here you can choose your recipient list based on individual event registrant groups. If you have a custom contacts list you can also select this from the drop down menu labeled “My Contacts”.
When creating your subject line, avoid using the word “free,” TEXT IN ALL CAPS, repeating punctuation (????) or dollar signs ($$$$). Using these can cause your email to be sent directly to a spam folder and never to be delivered.

The email body can be plain text and formatted using the text editor or you can use HTML in your msg by simply clicking the source button in the top left corner of the editor. Note: Many email readers do not like div layouts and prefer a table based layout using inline styled css.
Once you are satisfied with everything you have created, simply click “Preview and Send email”. A pop up with display showing how your email will look. Click cancel to continue editing your email. Once you have previewed your email and you are satisfied, click Send email.
How to Track Ticket Sales
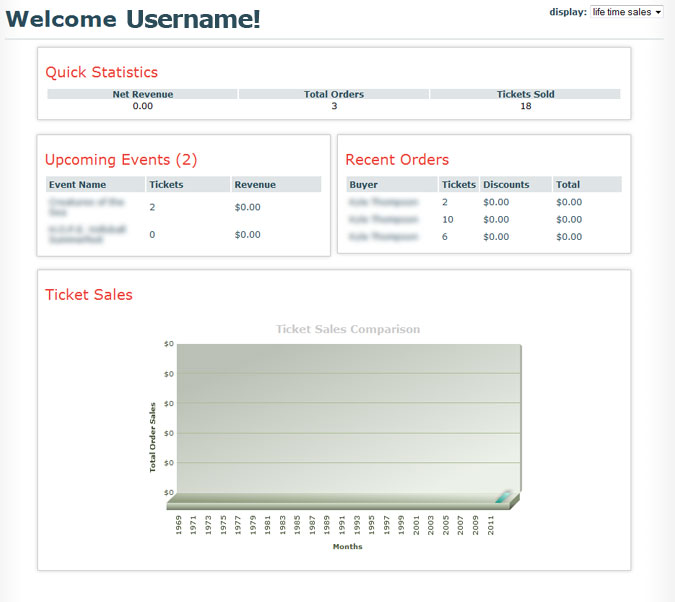
You can view your sales from your administrative dashboard. Revenue, individual purchases and Ticket Sales graphs track all your transactions.
Promote your Event
Snap Up Tickets allows you to post/create your event directly to Facebook. Simply click on "Post as FB Event" and you will be directed to Facebook and log in (if you are currently not logged in.) After you have successfully logged into the Facebook you will then be taken back to your event listings page in Snap Up Tickets.

After you have posted your event to Facebook you can then edit your event posting through Facebook where you can invite attendees and add any additional info.

Integrate Event
Snapup Tickets provides quick and easy HTML code for linking your ticket selling page within any other website. Within your events submenu on your admin dashboard, simply click "Integrate to Website".

Once you click Integrate to Website, Snapup can generate a button link code or a text link code. Simply insert this code onto your page and you've established a link between any site and the Snapup Tickets selling site.

Event Check-in Module
App Guide
Snapup Tickets has developed a quick and easy way to verify ticket sales on-site at your event with our new Snapup Tickets iOS mobile app. The app provides functionality for event organizers to scan and verify tickets for any of their live events on the Snapup ticket platform.

SnapUp App Help Guide
Download App
Snap Up App is a platform dependent app which will run only on Apple devices. App requires minumum ios version 9.2or later and it is compatible with iPad, iPod and iPhones. To download the App, click the following link.
Download Snapuptickets